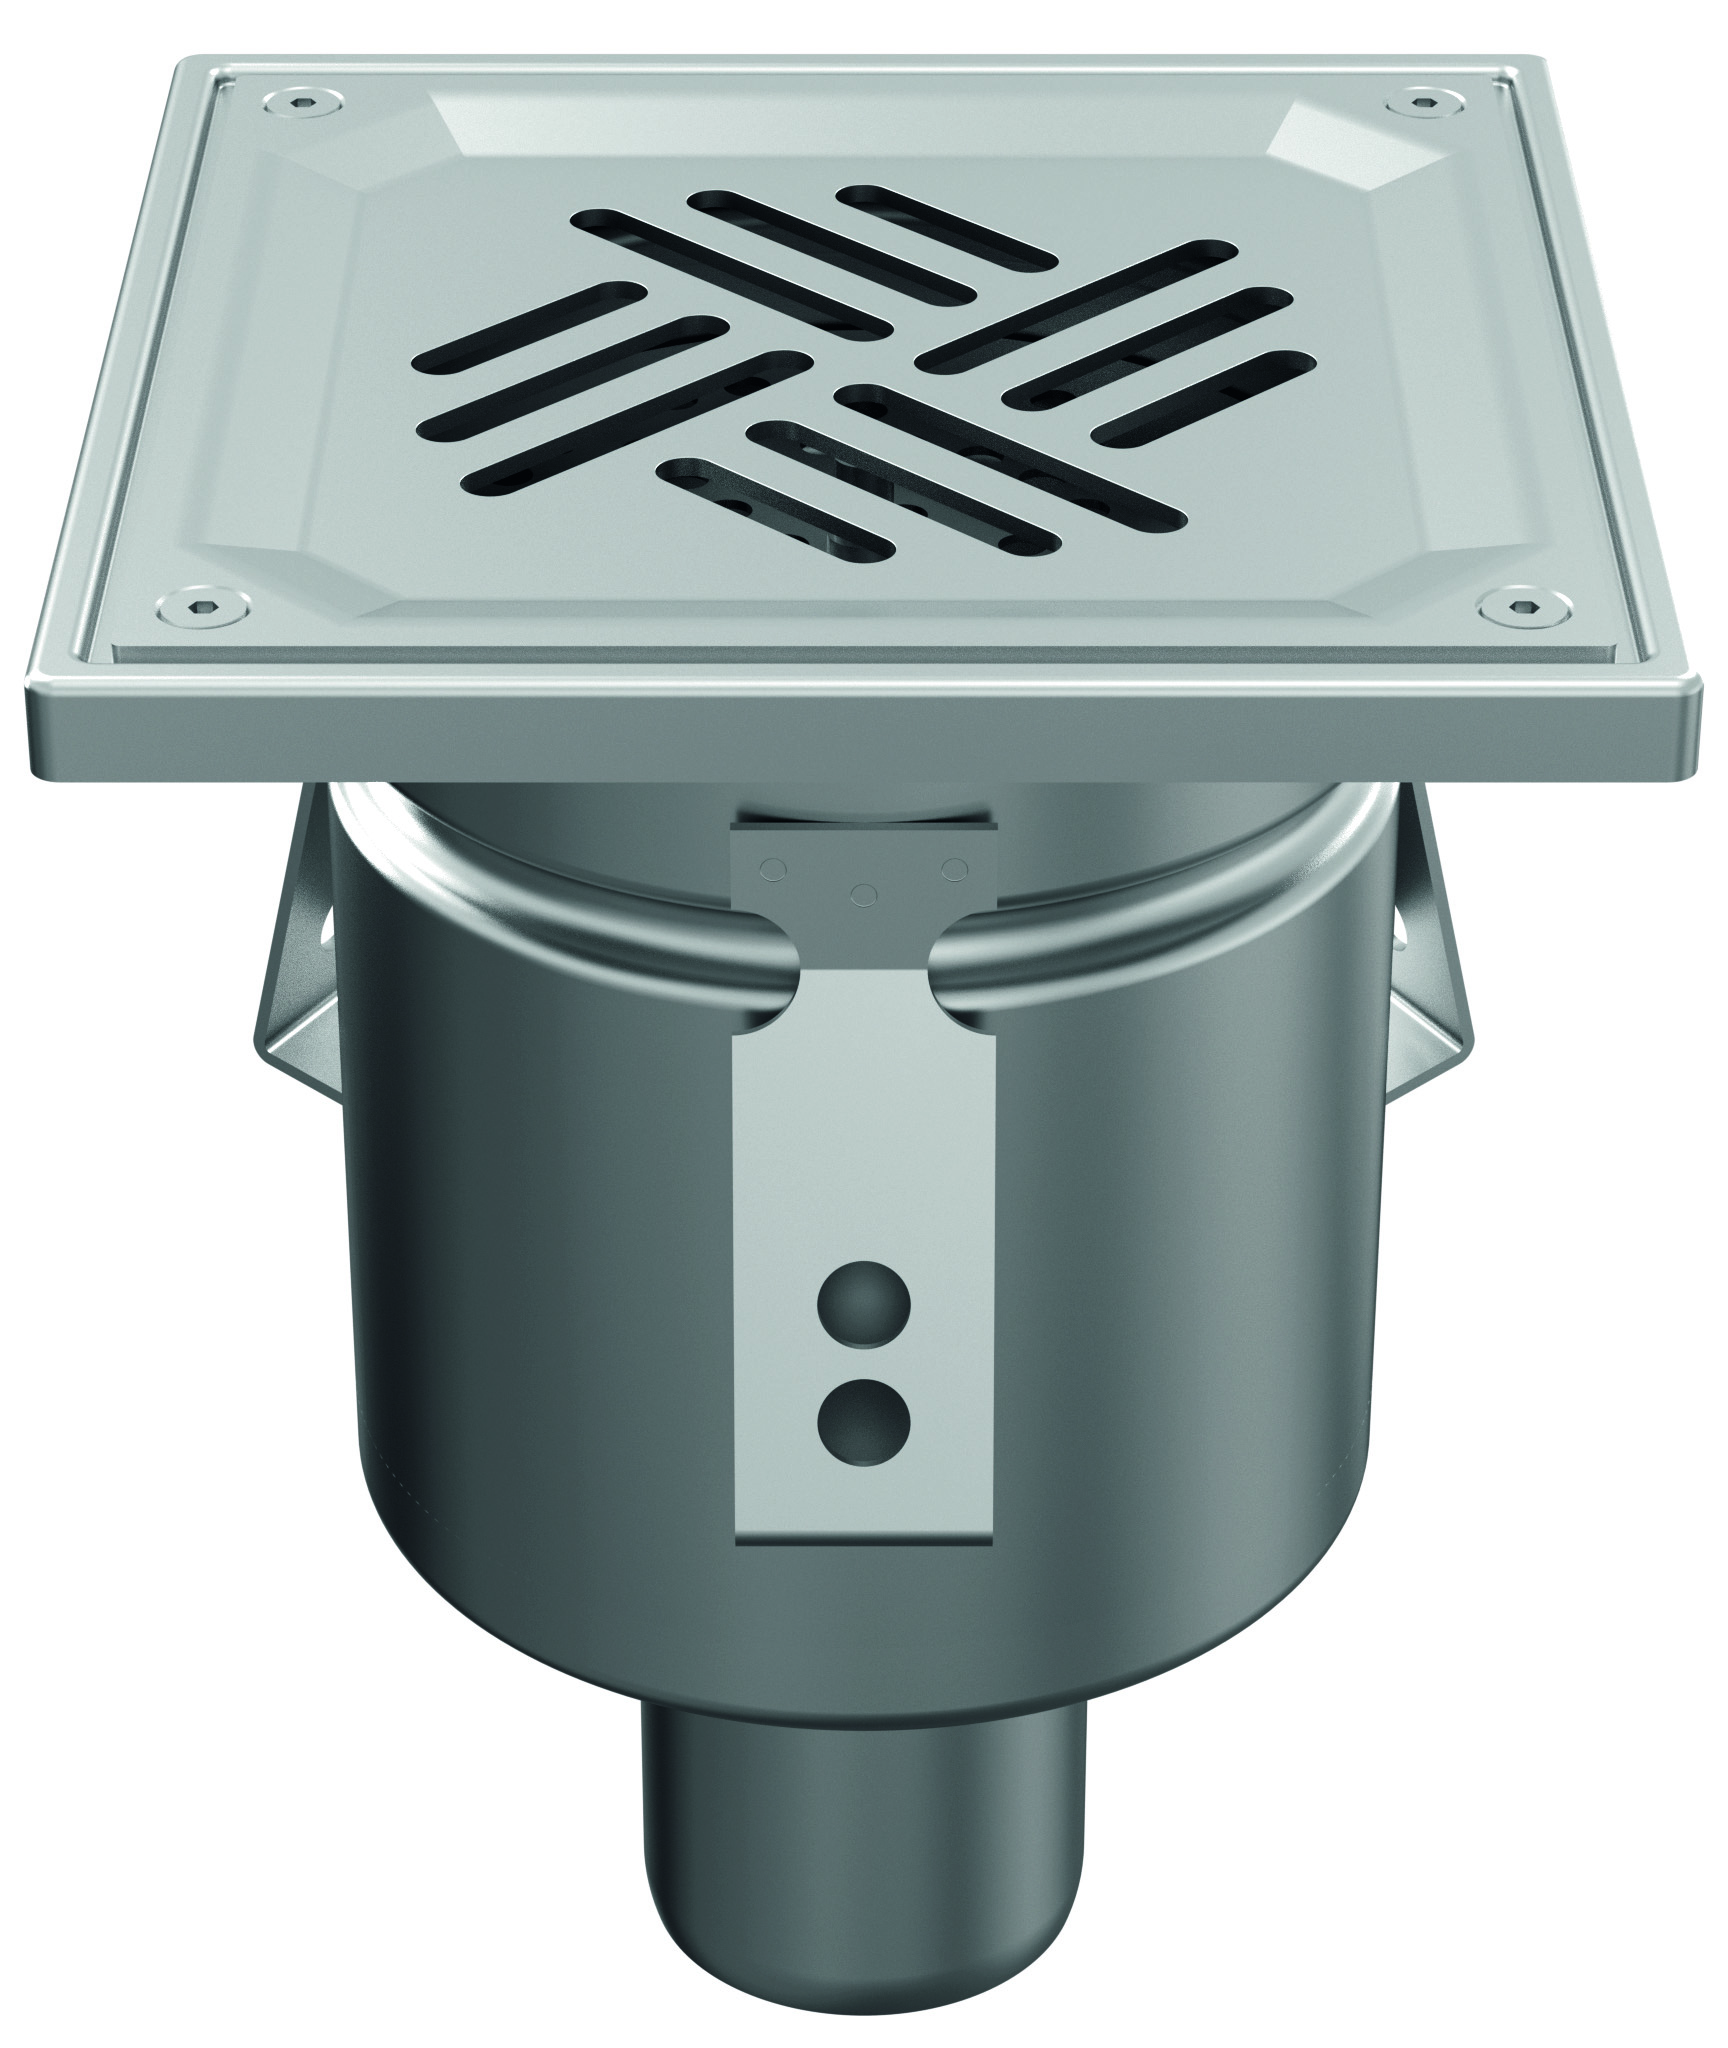
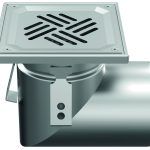
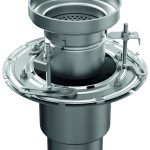
Mini Floor Drains
Mini drains are used in places where, for hygienic and aesthetic reasons, stainless steel elements should be used, and the small amount of water collected allows the use of a smaller drain diameter.
By standard, all floor drains and rodding eyes are made of stainless steel: AISI 304, EN 1.4301 and AISI 316L, EN 1.4404. The type of drain depends on the load class, the amount of drained liquid (medium) and design parameters (e.g. ceiling thickness).
Floor drains are made of sheet metal of thickness adapted to a defined type of drain. All elements are welded using argon shield,and then are pickled, thus ensuring high quality of joints.
ADVANTAGES of floor drains
– highest hygienic design and construction standards, following EHEDG guidelines,
– possibility to select a grate depending on application and load class,
– easy installation,
– due to suitable trap design, each gully is also the sewer rodding eye,
– simple design,
– easy and effective cleaning.
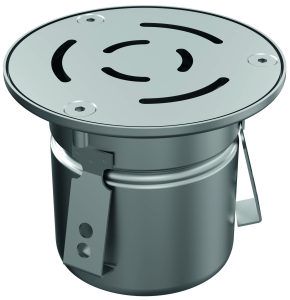
DESCRIPTION OF THE FLOOR DRAINS
COMPONENTS
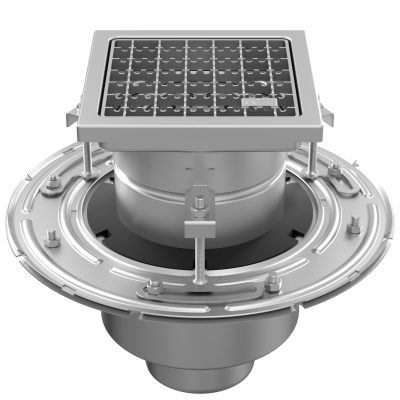
Bodies – round shape limits waste accumulation and enables easy waste removal. The welded joints are grinded to remove sharp edges and ensure safe installation or cleaning.
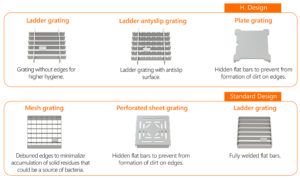
Gratings – available in various shapes, dimensions and finishing versions. The gratings are selected according to the loads and location of installation. We offer the following grating types: mesh anti-slip, ladder, plate and perforated sheet.
Waste baskets – recommended when the drained wastewater has a high content of solids.
Strainers – used when the amount of solids is small.
Traps – very functional and easy to maintain. Ensures easy access to the sewer, quick cleaning and offers a possibility of checking for locks.
Flanges – used when it’s necessary to drain water from horizontal systems installed under the floor.
INSTALLATION OF SINGLE-PART floor DRAINS
1. A drain pipe must be brought to the proper height
2. Place the drain in the hub of the drain pipe in a way so that the upper part of the drain is located 1-2 [mm] below the upper layer of the flooring.
3. Fill in the space with concrete.
4. When pouring concrete, do not allow obstruction of the opening clearance of the upper part of the drain. Also remember to precisely fill places that are difficult to reach with the concrete mass.
INSTALLATION OF TWO-PART floor DRAINS
1. Start the installation by settling the lower part of the drain in the structural layers of the ceiling. The lower part should be settled in the cavity 15-20 [mm] in a way to ensure appropriate drainage of condensate from the vertical insulation to the drain.
2. Prepare water-proof insulation for the ceiling
and install it using the pressure ring of the lower part.
3. The next step is setting and levelling of the upper part of the drain on the set offset. The edge of the upper part of the drain should be located 1-2 [mm] below the floor can be prepared.
4. After stabilising the upper part, you may prepare the remaining.
5. Fill the space with concrete.
6. When pouring concrete, do not allow obstruction of the opening clearance of the upper part of the drain,. Also remember to precisely fill places that are difficult to reach with the concrete mass.

- diameter of the drain: from DN50 to & nbsp; DN110
- grates: mesh (a/s), ladder (a/s), plate, perforated
- one and two-piece body
- vertical or horizontal outflow
